12 May 2014

Stained Glass Panels

Stained Glass Panels ... an ongoing saga


These are the latest pieces I've been working on at retreats ...


The Bee is finished.


The dragonfly is glued down, and halfway "biased"/"leaded"


These last two are only glued in place, and need "leading" ... I suspect this project has at least a year before completion!

The ladybird/ladybug:


And the Butterfly ...


How I anticipate placing them in the quilt ...


11 May 2014

Binding a Quilt

If I ever teach a quilting class, this will be my first decree ...

"There is only one rule with quilt-making.  1st - There are no rules with quilting.  Anyone who tells you differently is probably trying to sell you a new toy/tool!"

 The following is one method of binding quilts.  There are many.  


Figure out how large a square you need for binding your quilt.  In inches, measure the length in total for binding, multiply by the width of your binding strip.  Take the square root of the product and add 2".  This is your square.

Cut out square and slice it diagonally.  Sew the straight edges of the triangle together producing a parallelogram.

Draw strips across your parallelogram parallel to the bias edges, and sew the straight edges together, offsetting them by one strip.


Cut your bias binding along the drawn lines, creating one long continuous strip of fabric.


Iron your bias binding in half, and roll up.

Sew down your bias binding at the edge of your quilt, give yourself 10" or so of unsewn tail.


Corners!
At your first (and all additional) corner, stop sewing a seam width from the edge, and stitch diagonally to the corner.

Fold binding at 45 degree angle away from the quilt ...

And then fold down along the quilt.  You've made your first corner, which will wrap around to the other side.


Leave yourself 10" or so of unsewn tail at the end, just like the beginning.  Match the two side together at 90 degrees.  Pin. 

Sew down.

Check to see that you sewed the angle properly together by testing the binding fold.

Cut the excess binding and finish sewing down. Iron.

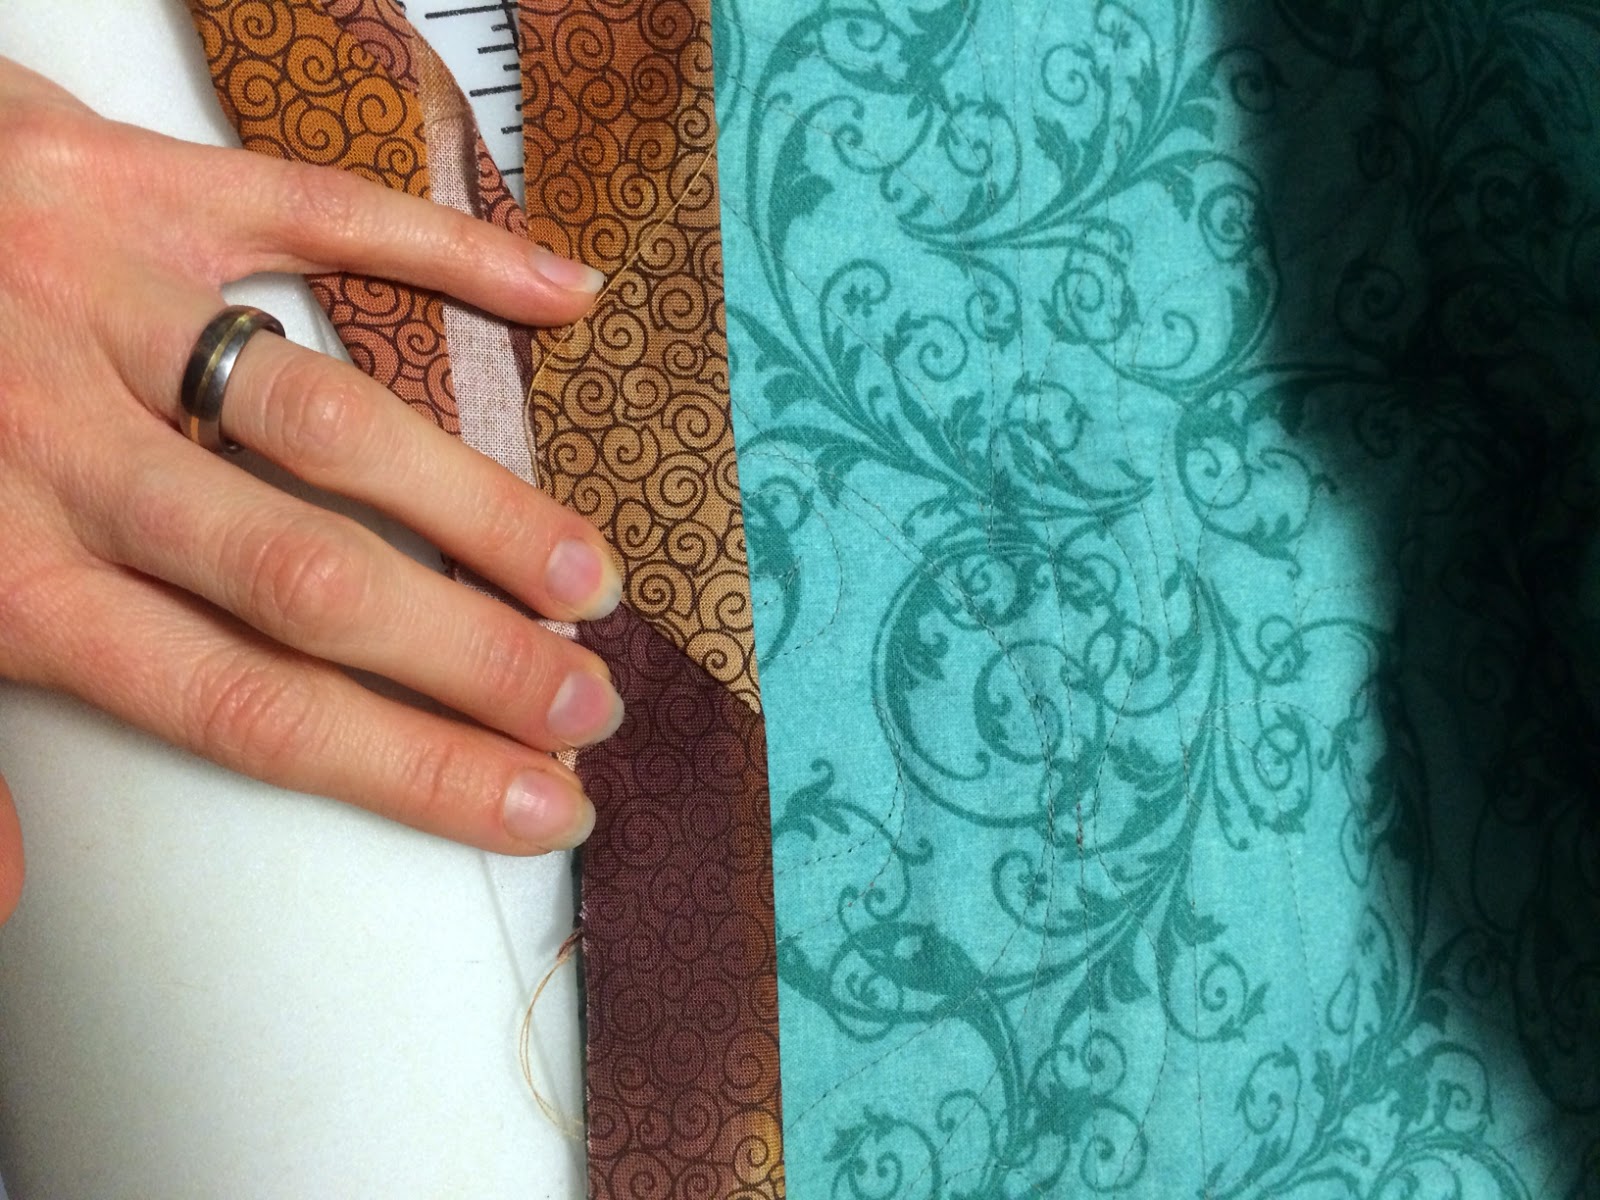
Wrap binding around to front and pin, then iron down again. 
 

At the corners, you will run into bulk on the back of one side. 


Make sure the bulk you create on the front is on the opposite side.  In this picture the bulk is to the right in the back, so I will fold the bulk at the front to the left.


 Pin down.


SEWING THE CORNERS, BY HAND ... 10 MINUTES TOPS!
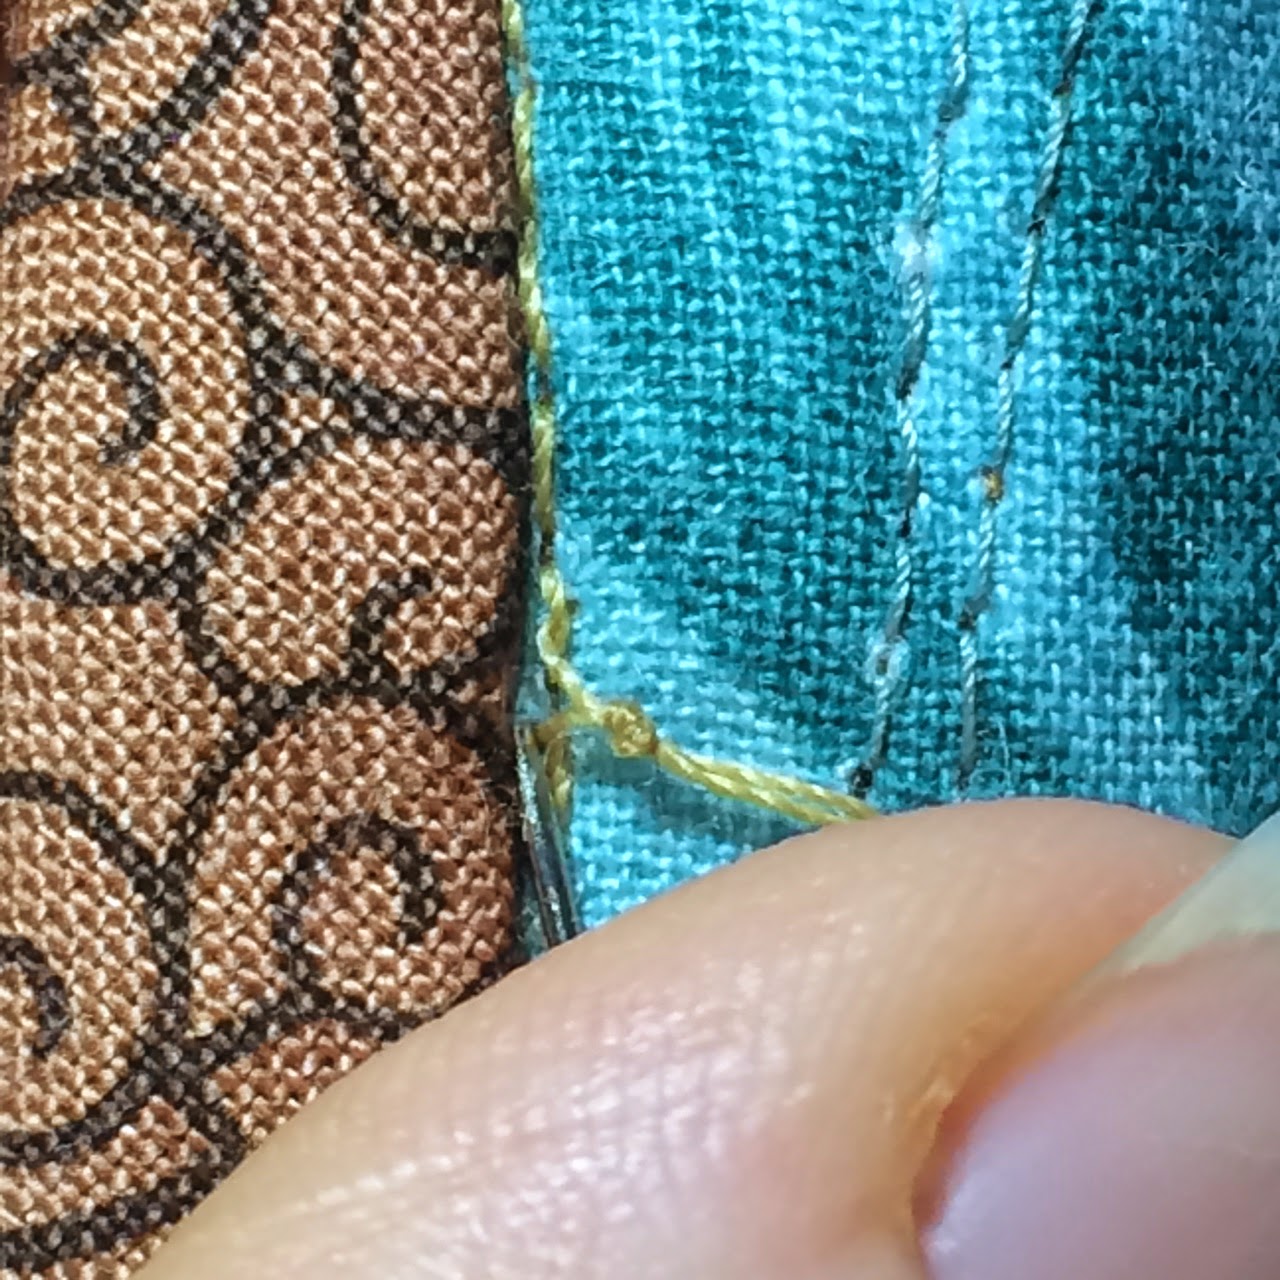
Thread a needle, knot the thread, and stick the needle out the top of the corner.


Begin sewing the two edges to each other at the corner ... so it does not come apart later.


Machine stitch down the binding from the front of the quilt.  Bury the threads.


 Bound front.

From the back.  If the stitching on the back bothers you, do not bind a quilt via this method.

All done!


Quilt: McKenna Ryan's Willow Beauty pattern

I first saw this quilt in 2010 when my mother whipped it together.  The pattern is beautifully simplistic, and really takes advantage of McKenna Ryan's lovely fabric washes.


And the fabric was available to make a quilt just like the one you see on the picture.  However, I was not so thrilled with the color combo available.  It just wasn't me.

The joy of putting together a quilt begins with the pattern, and moves to the fabric selection.  If I buy a kit, regardless of how attractive, someone else has had half my joy. 

So I collect the pattern and ponder. 

Flash forward to 2011, my mother is heading to a fabric shop that has quite a bit of Ryan's fabrics, and invites me along.  Please, what sewer can resist a fabric fondling fieldtrip?

While there, I got to see several other colorways of Ryan's design and fell for several yards of fabric.  They all came home with me.  (Now!) I know what fabrics I can use for that Willow pattern.


I chose two basic color families to start ... a blue-green and a red-violet (berrys).  Being that the willow pattern needs four different color families, I decided to take a glance across the color wheel, and match each of my chosen fabric families with its opposite for maximum contrast.  This gave me a peach/orange/rust family to oppose my blue-greens, and the yellow-green family to oppose my red-violets.


The last requirement that I gave myself was that everything (else) needed to come from stash.  Luckily, my quilt stash is just big enough (thanks to the influx of Ryan fabrics) that I was able to pull out yards and yards of fabric, finally reducing my choices to the needed 16 fabrics ... you can choose 20 if you would rather, but I thought that caused too much busy-ness.


I was ready to sing the praises of the gal I hired to quilt this for me, until I noticed this "thread nightmare" while I was binding the quilt.  What is all of that, a mistake?


And this is what it looks like on the other side.  Oh goody, she cut a 1/2" gash in my quilt, did not tell me about it, poured an entire bottle of fray check on it (see the dark splotches?),  and then quilted a tangled mass of thread onto it.  Like I wasn't going to notice?

Well, obviously not until I started binding it!  This means I will likely never have another quilt quilted by another.  She proved I cannot trust other quilters, and that makes me sad.  :(


This below is a fairly accurate color representation of my quilt.  I did change the directionality of several blocks to give it motion.  It was too jumbled otherwise for my tastes.


And the mister holding up the quilt for a full size photo.  Thanks hun!

It has a thin bamboo blend batting, and will be my new summer quilt.

I took several photos while binding it completely by machine.  A process that went much faster than I anticipated.  It is something I have dreaded for years ... YEARS I tell you.  And it was practically painless. 

Good, I have several more to bind ...

My quilting journey

When I was 15, I broke my ankle and had surgery.  I was laid up for 6 weeks during the summer with very little to do but physical therapy.

I had somehow managed to pop the tip of my fibula off (specifically, the lateral malleolus of my right fibula).  I noticed it first as an ache that just would not go away.  When my ankle still hurt weeks later while mowing the lawn, I started to get a little concerned.  My dear mother (who will forever regret this) kept telling me to "Suck it up!"  'Cause, honestly, that's what we tell people when they complain about a little ache.

I finally went to the high school athletic trainer who took some tools to my ankle and said, "I think you should go see a doctor about this ... it is ... strange."  That wasn't scary, AT ALL.  

That now useless little shard of bone had begun working its way upward, grinding away between the tibia and fibula.  It needed to be removed before I developed severe arthritis.  Hence the surgery, and the recovery.

On a side note, I will always regret that I did not ask for my shard of bone.  I think it would be a great conversation starter.  I'm left with only a well healed scar as a discussion point.


Anyway, right before surgery, my mother says, "You will NOT sit and read the entire time you are recovering ... you will make a quilt."

And thus my quilting began.  We purchased a pattern, I do not remember from where (the local quilt shop?  Mrs. Godfrey's "The Needle Nest", perhaps?) and the fabric (again, I do not remember from where this purchase was made).  Thus began my love affair with combining fabrics in a quilt, and my distaste for having someone else choose my fabrics.

Needless to say, I rarely sign up for "blocks of the month" nor buy "premade kits."  This is not the type of quilter I am. 


My first quilt ...


I believe this was hand cut with scissors, being made before rotary cutters were common place.  Though, I could be wrong ... it is hard to remember so long ago.

This quilt was tied, and the fraying at some seams indicates I didn't quite understand the whole seam allowance concept. 

My feather quilt will likely never see heavy use, as it would fall apart at the slightest pressure. 

It reveals my love of muslin, even that early on.  Muslin fabric makes regular appearances in my quilts ... perhaps I should buy stock?

Brand New, but Sanctified, Sweater


One reason why ready-to-wear is so hard to buy ...

I've never worn this sweater out and about.  It is SmartWool's "Lightweight Front Range Pullover Sweater" in Deep Sea Heather. 

The pros: it is a beautiful color.  So much better than the typical offering of black, black, or ... charcoal!

The cons: It is brand new, washed once ... on hand cycle in the washer, in a lingerie bag ... laid flat to dry.  Even more gentle than SmartWool's washing instructions.

Result - two holes.   The shoulder hole appears to be a result of poor sewing and associated unraveling ... fixable if you have the time and patience.  The back hole is the result of a fiber giving way and releasing the knitting on either side.

I'm disappointed.  The fibers are of low quality and the sewing is not much better.  And this is supposed to be a sweater I can run in???  No chance of that happening now.

SmartWool, the manufacturer, is to blame for this travesty.  Backcountry, the company I purchased it from, is in charge of the refund.  Here's to a responsible company (... here, here!)